dingding-notifications
https://plugins.jenkins.io/dingding-notifications
jenkinsfile 代码
1
2
3
4
5
6
7
8
9
10
| post {
success{
dingTalk( accessToken: '7d7acde934be6177bb813100396a34e35ec2a84',
imageUrl: 'http://xxxx.oss-cn-beijing.aliyuncs.com/success.png',
jenkinsUrl: 'http://192.168.0.89:8080',
message: "${currentBuild.fullDisplayName} \nJOB NAME: ${env.JOB_NAME} \nBUILD NUMBER ${env.BUILD_NUMBER}\nDeploy SUCCESS",
notifyPeople: '')
}
}
|
钉钉推送结果
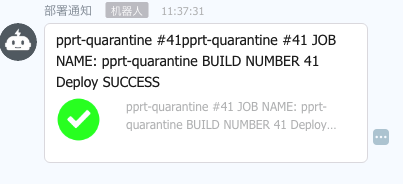
从作者的源码里发现 title 和massege 混到一起没分开,在钉钉里面体验不够好,好处在于简单方便。
HTTP Request Plugin
https://wiki.jenkins.io/display/JENKINS/HTTP+Request+Plugin
钉钉文档
https://open-doc.dingtalk.com/docs/doc.htm?spm=a219a.7629140.0.0.karFPe&treeId=257&articleId=105735&docType=1
按照钉钉文档发送http请求,很容易定制出自己需要的通知效果。
1
2
3
4
5
6
7
8
9
10
11
12
13
14
15
16
17
18
19
20
21
| httpRequest contentType: 'APPLICATION_JSON_UTF8',
httpMode: 'POST',
requestBody: """
{
"msgtype": "markdown",
"markdown": {"title":"${currentBuild.fullDisplayName} 上线成功",
"text":" ${currentBuild.fullDisplayName} 上线成功 \n JOB NAME: ${env.JOB_NAME} \n BUILD NUMBER ${env.BUILD_NUMBER}\n ### Deploy SUCCESS \n @xxxxxx \n\n #### [去 Jenkins 查看](http://192.1.1.89:8080/job/${env.JOB_NAME}/)",
},
"at": {
"atMobiles": [
"xxxxx"
],
"isAtAll": false
}
}
""",
responseHandle: 'NONE',
url: 'https://oapi.dingtalk.com/robot/send?access_token=xxxx'
|
钉钉通知
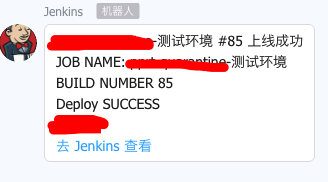
使用HTTP Request Plugin 插件能够更好的满足部署上线个性化通知,满足自己的需要。